This post may contain affiliate links, including those from Amazon Associates. If you make a purchase through these links, I may earn a commission at no additional cost to you. Learn more about our affiliate policy.
There’s something enchanting about the humble mason jar. Simple, sturdy, and endlessly versatile, these glass vessels have a way of becoming whatever we need them to be.
For a witchy boho home, they are perfect: vessels for light, containers for intention, or canvases for art.
With a little creativity and intention, you can turn ordinary jars into soulful decor that feels both magical and grounding.
These nine ideas are designed to be beginner-friendly, affordable, and adaptable. You don’t need specialized tools or expensive supplies.
In fact, many of the most beautiful results come from using what you already have, pressed flowers, bits of lace, twine, or thrifted charms.
The magic is not in perfection, but in the joy of making and the meaning you weave into each piece.
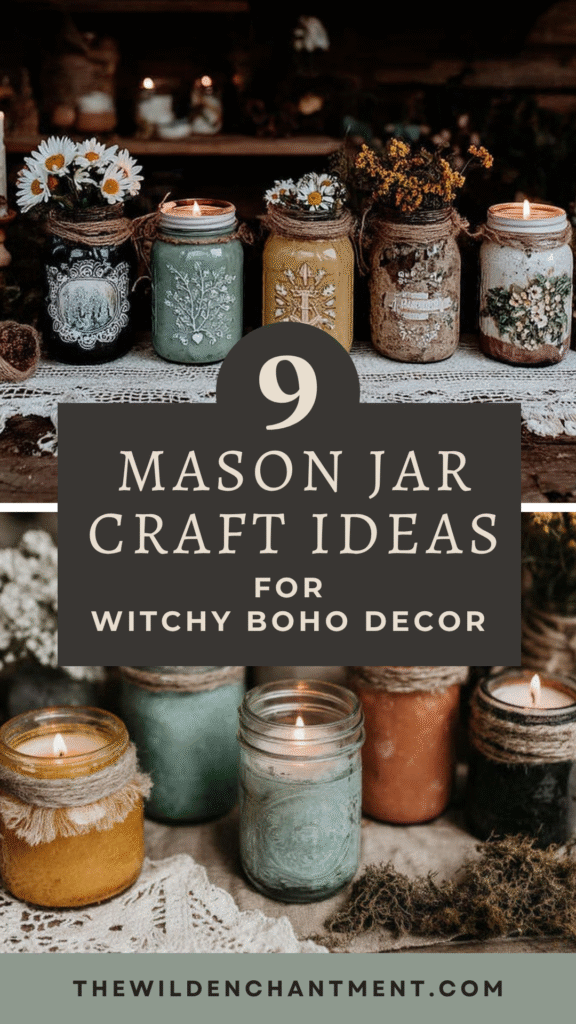
Why Mason Jars Fit the Witchy Boho Aesthetic
Mason jars carry symbolism as vessels and containers, representing thresholds, cycles, and protection.
Their transparency invites us to play with light, shadow, and texture, while their durability makes them practical for everyday use. For a boho-witchy home, jars hold herbs, crystals, candles, or seasonal offerings, always ready to be adapted with the rhythm of the year.
They also support sustainability. Repurposing old jars or finding them in thrift shops keeps costs low and connects you to the practice of giving new life to overlooked objects. For more ideas in thrifting for this aesthetic, see the post on witchy boho decor projects using thrifted finds.
Many of these ideas can also be combined. For example, you might decoupage a jar with pressed flowers and then pour a handmade candle inside, or paint a jar before filling it with fairy lights. Feel free to layer techniques to create pieces that are uniquely yours.
Preparing Your Jars
Before crafting, take time to prepare your jars. Wash them with warm soapy water, then rinse with vinegar to remove any residue.
Set them in sunlight or moonlight to energetically cleanse and reset their energy. You might even speak your intention while holding the jar, dedicating it to its new purpose.
Simple treatments can change the look instantly. Frosted glass spray, chalk paint, or wrapping the jar in twine or lace can serve as your base.
Gather materials like dried herbs, pressed flowers, wax, fairy lights, paints, and charms. With your jars ready and supplies at hand, you’re set to begin.
Spell Jars
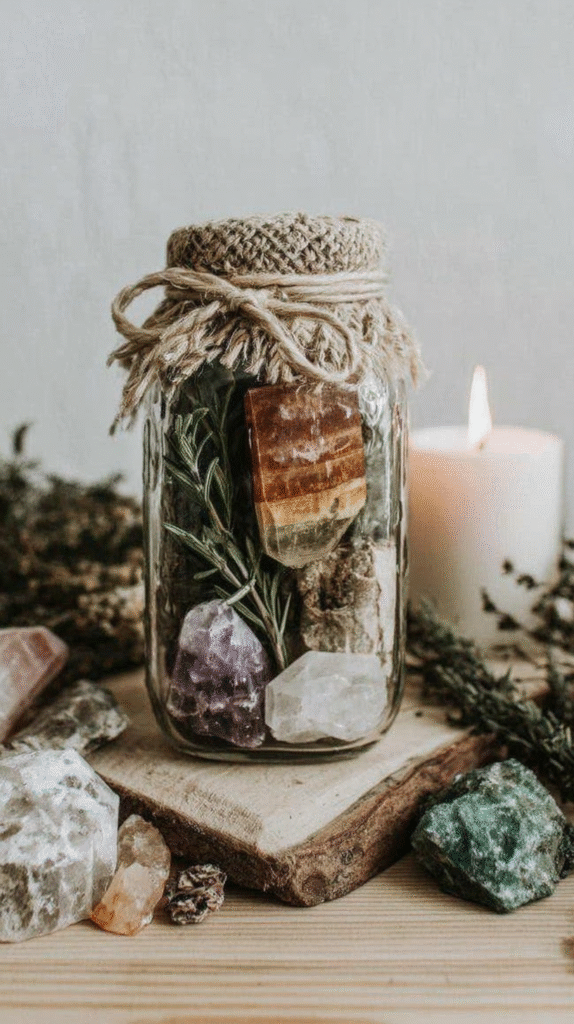
Perhaps the most classic witchy use of a jar, the spell jar transforms a vessel into a container for intention. Fill your jar with herbs, crystals, and a slip of paper carrying a handwritten wish.
Seal it with melted candle wax, then tie ribbon or twine around the neck.
Find 15 Affordable Spell Jar Recipes here
Candle Lantern Jar
Jars make beautiful lanterns, whether you place a small candle or an LED tea light inside. Frost the glass for a soft glow, or leave it clear and decorate the outside with lace or charms.
Wrap twine or ribbon around the rim for texture, and cluster several jars together to create a warm focal point.
For safety, consider LED candles if you’ve added paper, lace, or dried botanicals to the outside. These lanterns are especially lovely on bedside tables, shelves, or in cozy corners where their light can soften the room.
What You Need
- A clean glass jar: any mason jar works, ridged or smooth
- A small candle or LED tea light: LED is the safer choice for decorated jars
- Frosting spray or glass etching cream: optional, for a soft diffused glow
- Twine or ribbon: to wrap around the rim
- Lace or small charms: optional, for outer decoration
Steps
- Wash and dry the jar completely.
- If frosting the glass, apply the spray or etching cream and let it cure per the product instructions.
- Wrap twine or ribbon around the rim for texture.
- Add lace or a small charm if you want extra detail.
- Set a candle or LED tea light inside.
- Cluster two or three jars together for a warmer, fuller glow.
Fairy Light Lantern Jar
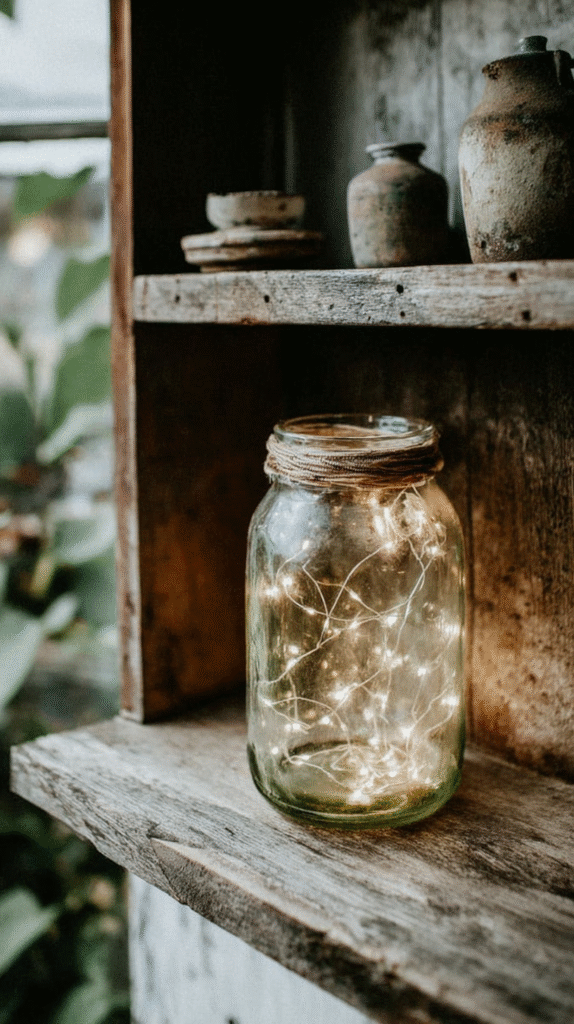
For an easy, enchanting effect, fill a jar with battery-operated fairy lights. The glow instantly transforms the jar into a magical centerpiece.
Wrap the outside with wire or fabric to diffuse the light, or keep it clear for a simple sparkle. You can also wrap wire around the neck and hang it like a lantern so it can cast its glow over the room.
These work beautifully on windowsills, altars, or outdoor tables during warm evenings.
They give the effect of fireflies or starlight, adding a whimsical boho touch to your home without any mess or fire hazard.
What You Need
- A clean glass jar: any size, clear or lightly frosted
- A strand of battery-operated fairy lights: look for warm white for the coziest effect
- Wire or a scrap of fabric: optional, to diffuse the light
Steps
- Wash and dry the jar.
- Coil the fairy lights inside, tucking the battery pack near the bottom or just outside the rim.
- Wrap wire or fabric around the outside if you want to soften the glow.
- Wrap wire around the neck and twist a loop if you’d like to hang the jar.
- Turn on the lights and set the jar on a windowsill, altar, or outdoor table.
Handmade Candle Jar with Herbs and Oils
New from Wild Enchantment
Your Enchanted Home Starts Here
A 25-page guide to creating a witchy, nature-inspired home using thrift stores, budget finds, and what you already own.
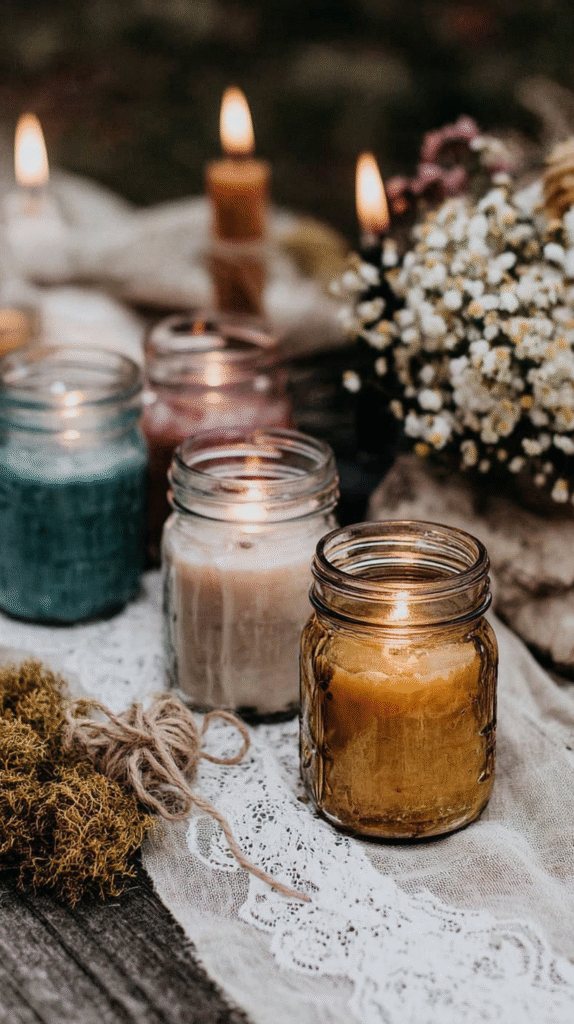
Candle magic feels even more powerful when you make the candle yourself. Mason jars are perfect vessels for this, holding both the wax and your intentions.
Melt soy or beeswax in a double boiler and, once liquid, stir in dried herbs, flower petals, and a few drops of essential oil.
Each blend carries meaning: lavender for calm, rose for love, rosemary for protection. Place a wick in the jar, steady it with a chopstick or skewer, and pour the wax slowly. Let it set completely before trimming the wick.
See a visual tutorial of this method and some other ideas in this video:
When lit, these handmade jar candles glow with your chosen intention. They infuse the air with fragrance, cast a soft light, and carry the energy of the herbs you blended into the wax. Each one becomes a cozy, enchanted accent for your home.
What You Need
- Soy or beeswax flakes: look for a natural, unscented base
- A double boiler: for gentle, even melting
- A cotton wick with a metal tab: plus a clothespin or skewer to hold it centered
- A mason jar: your candle vessel
- Dried herbs or flower petals: lavender for calm, rose for love, rosemary for protection
- Essential oil of choice: a few drops go a long way
Steps
- Melt the wax slowly in a double boiler until fully liquid.
- Remove from heat and stir in a few drops of essential oil.
- Secure the wick to the center of the jar’s base, then rest it against a skewer or clothespin laid across the rim to keep it straight.
- Pour a thin layer of wax, then press dried herbs or petals against the sides while it’s still tacky. Let this layer harden.
- Pour the remaining wax slowly to fill the jar, then let it set completely, several hours or overnight.
- Trim the wick to about a quarter inch before lighting.
Crystal Terrarium Jar
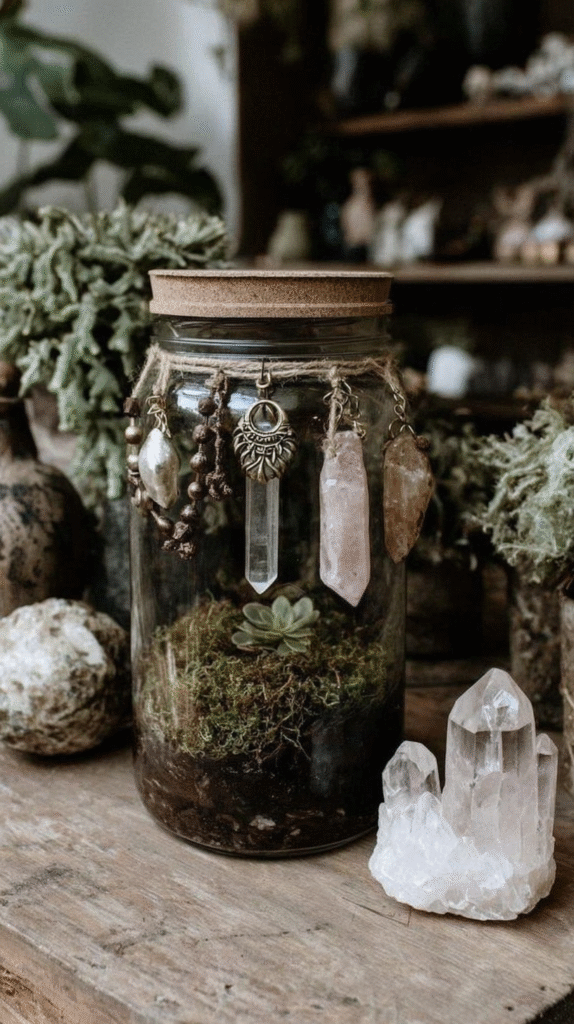
Turn your jar into a small crystal terrarium. Begin with a base of sand, soil, or moss.
Add crystals, charms, or tiny ritual objects. You can leave the jar open for easy rearranging or seal it with a decorated lid.
These terrariums act as mini altars in themselves.
Place one near your bed, on a desk, or in a witchy corner reading nook.
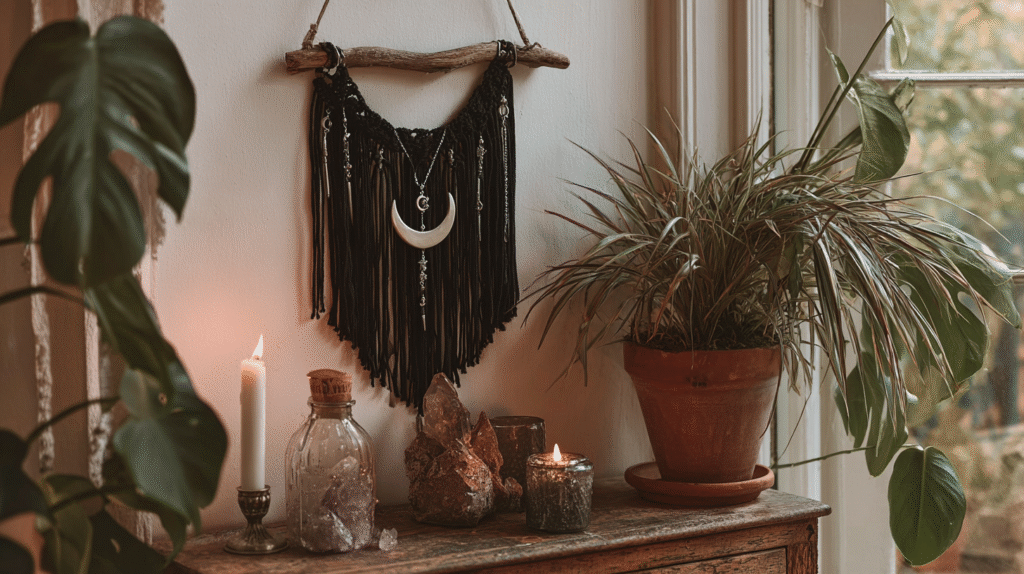
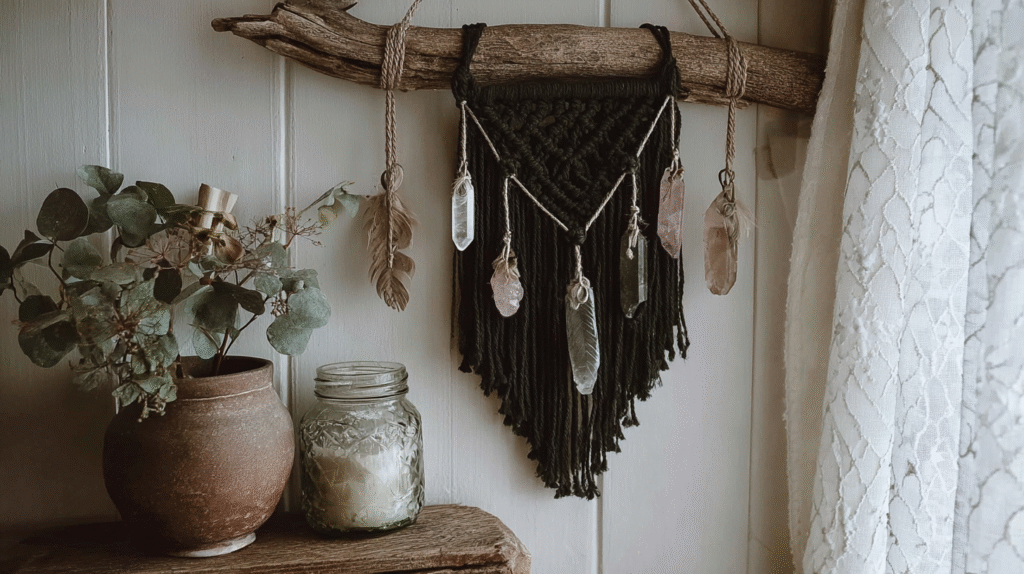
Another beautiful way to weave crystals and foraged charms into your decor is through this DIY dark boho macramé wall hanging project.
What You Need
- A clear glass jar with a lid: wide-mouth jars make layering easier
- Small stones or pebbles: for the drainage layer
- Activated charcoal: keeps the terrarium fresh
- Potting soil or sand: as your base layer
- Moss: for a soft, grounding texture
- Crystals, charms, or tiny ritual objects: your centerpiece
- A spray bottle with water: for light misting
Steps
- Add a layer of small stones to the bottom of the jar for drainage.
- Sprinkle a thin layer of activated charcoal over the stones.
- Add a layer of soil or sand.
- Nestle in moss, pressing gently so it makes contact with the soil.
- Arrange crystals, charms, or ritual objects as the focal point.
- Mist lightly, then seal the jar for easy upkeep or leave it open so you can rearrange it anytime.
Sediment Spell Jar
Sediment jars are simple yet striking.
Layer natural materials such as sand, ash, charcoal, dried petals, and soil in symbolic order. Each layer represents an intention, creating a visual spell that you can return to again and again.
Seal the jar with wax, and if you like, glue a crystal or charm to the lid. These jars are particularly beautiful in clusters, where the layered textures and colors create an earthy display.
What You Need
- A small clear jar with a lid: the more transparent the glass, the more the layers show
- Sand: in one or several colors
- Ash: from a ritual candle or incense, if you keep it
- Charcoal: for a deep, grounding layer
- Dried rose petals: for color and softness
- Soil: an earthy base or closing layer
- Sealing wax: to close the jar once it’s full
- A small crystal or charm: optional, to glue to the lid
Steps
- Decide the order of your layers, letting each one represent part of your intention.
- Spoon each material in slowly and evenly to keep the lines clean.
- Continue layering until the jar is full.
- Seal the lid with dripped wax.
- Glue a small crystal or charm to the top if you’d like.
- Display the jar on its own or in a cluster with others for a fuller, layered look.
Decoupage Lantern Jar
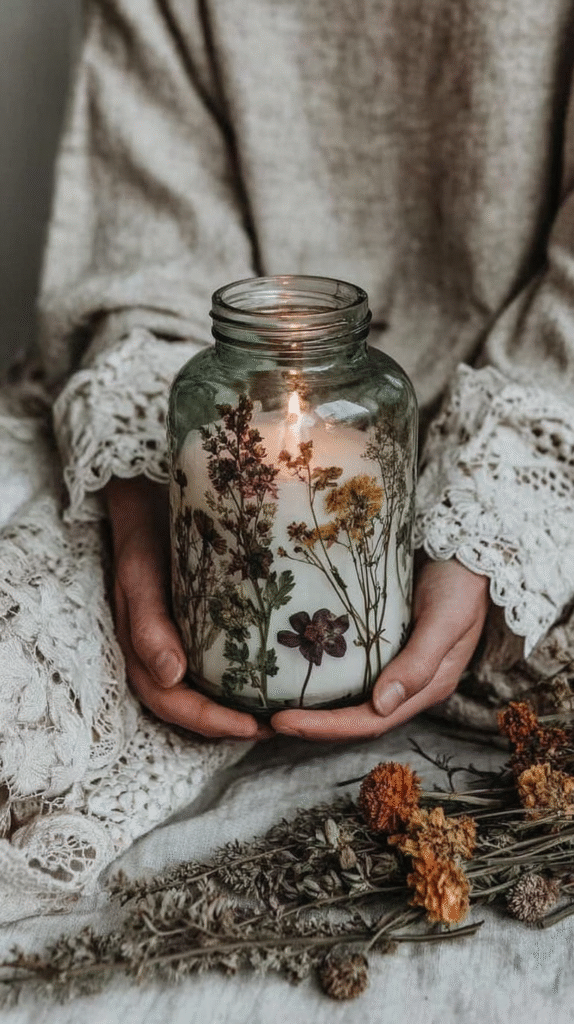
This craft uses pressed flowers, tissue, or handmade paper to create glowing botanical lanterns.
Brush decoupage medium onto the outside of the jar, press your chosen paper or petals in place, and seal with another thin coat.
Once dry, place a candle or LED light inside. You can also combine this method with the handmade candle method to make a truly unique piece.
When lit, the jar glows with the silhouettes of flowers or patterns, casting delicate shadows. These make stunning seasonal pieces, spring blossoms, autumn leaves, or winter botanicals preserved in light.
What You Need
- A smooth-sided glass jar: avoid heavily ridged mason jars, they make the paper harder to press flat
- Pressed flowers or petals, tissue paper, or handmade paper: your decorative layer
- Mod Podge or decoupage medium: for adhering and sealing
- A paintbrush: for applying the medium
- Tweezers: optional, for placing delicate petals
- A battery tea light or LED candle: for safe use once finished
Steps
- Clean and fully dry the jar.
- Brush a thin layer of decoupage medium onto a small section of the glass.
- Press your flowers or paper into place, using tweezers for delicate pieces.
- Work in sections around the jar, repeating until it’s covered as you like.
- Seal with one to two more thin coats over the entire surface, then let it dry fully.
- Once dry, place a battery tea light or LED candle inside.
Painted Mason Jar Accent
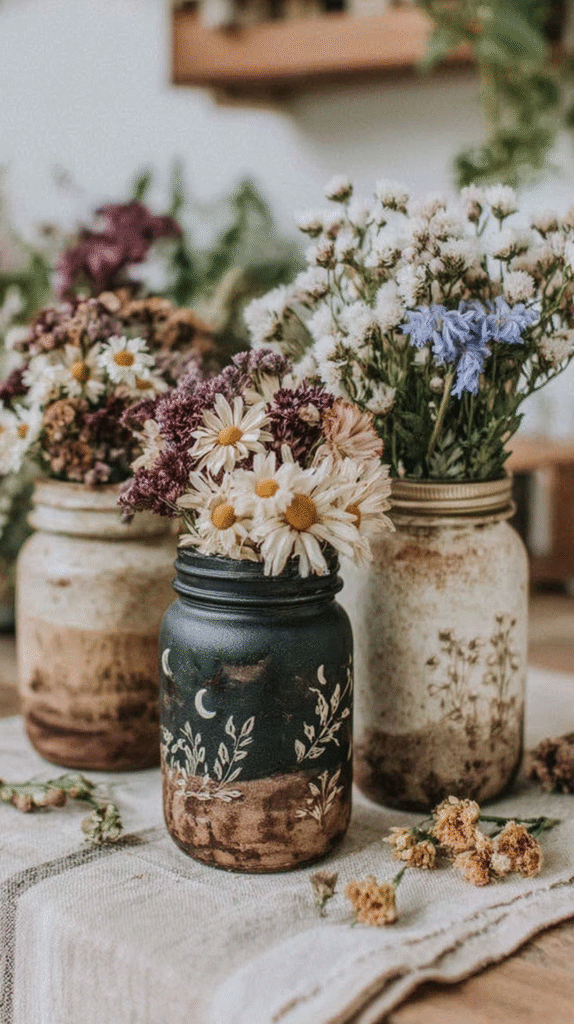
Painted jars can become both functional and decorative. Use chalk paint or acrylics in deep, moody hues, then layer on symbols, moons, or abstract textures with metallic highlights.
You can also create ombré effects or add a distressed finish for a rustic boho look.
These jars work well as vases for dried flowers, as utensil holders, or simply as shelf decor. Painting allows you to play with color and symbolism, making each jar a unique reflection of your style.
What You Need
- A mason jar: any size
- Rubbing alcohol: to clean and prep the glass
- Chalk paint or acrylic paint in moody hues: your base color
- Paintbrushes: a small detail brush for symbols and moons
- Fine sandpaper, 220 grit or higher: for distressing
- A metallic paint pen: optional, for highlights
- Clear sealant spray or wax: to protect the finish
Steps
- Wipe the jar down with rubbing alcohol to remove any residue.
- Apply two thin coats of base paint, letting it dry fully between coats.
- Sand random areas lightly if you want a distressed, worn-in look.
- Paint on moons, symbols, or abstract textures with a detail brush.
- Add metallic highlights with a paint pen if you’d like extra shimmer.
- Seal with a clear sealant once everything is completely dry.
Seasonal Decor Jar
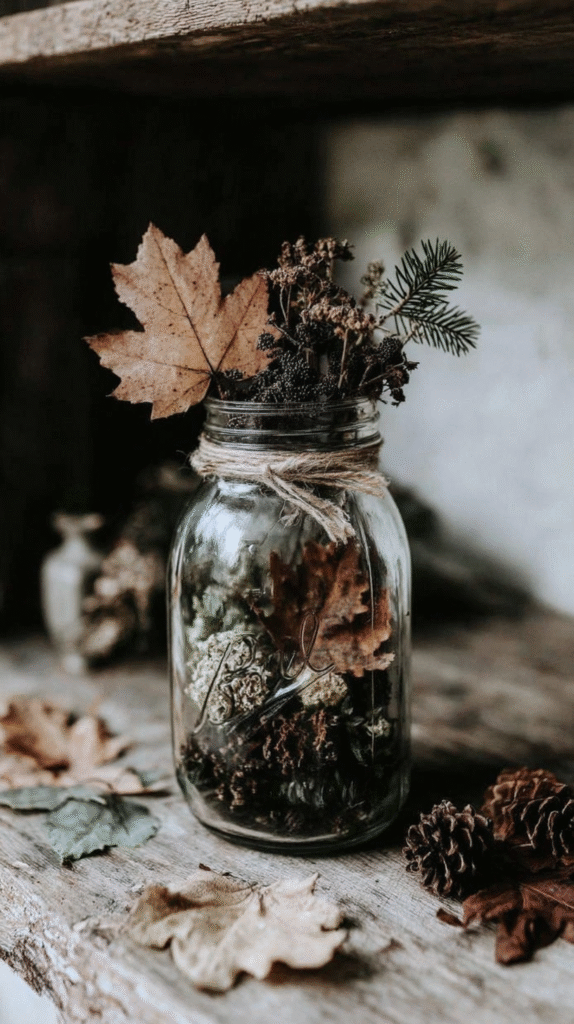
The simplest way to keep jars fresh and meaningful is to rotate their contents with the seasons.
In spring, fill them with blossoms and pastel ribbons.
In summer, add shells or wildflowers. Find more witchy seashell crafts for decor here.
Autumn invites dried leaves, nuts, and miniature pumpkins.
Winter calls for pine sprigs, cinnamon sticks, or small ornaments.
By keeping the outer styling consistent, the jars evolve naturally with the year, becoming small altars that honor the cycles of nature.
If this excites you, you might also love these enchanting DIY nature crafts for witchy boho decor, which bring similar natural textures into your space.
What You Need
- A mason jar: your reusable seasonal vessel
- Seasonal natural materials: blossoms and pastel ribbon for spring, shells for summer, dried leaves and pinecones for autumn, cinnamon sticks and pine sprigs for winter
- Ribbon or twine: to tie the styling together
Steps
- Choose materials that reflect the current season.
- Fill the jar loosely, leaving a little room so the eye can rest.
- Wrap ribbon or twine around the neck to finish the look.
- Swap the contents as the season changes.
- Keep the jar in the same spot so the room evolves naturally throughout the year.
Styling and Placement Tips
Cluster jars in groups of three or five for visual harmony. Place them on shelves, windowsills, or bedside tables where their textures and light can be appreciated. Pair jars with natural materials like linen runners, wooden trays, or woven baskets to amplify their boho charm.
Balance transparency with opacity. Some jars may be filled, others frosted or painted. This variation keeps the display dynamic and avoids monotony.
Closing Reflection
Mason jars remind us that magic doesn’t come from rare or expensive tools. It comes from how we see the world and what we choose to make with what’s at hand.
By transforming these simple vessels, we practice everyday alchemy—turning glass and herbs and light into something soulful.
Start with one idea from this list. Make it your own, trust your instincts, and let imperfection add character.
Before long, your home will be glowing with jars that hold not just decor, but intention, memory, and a touch of wild enchantment.
From Wild Enchantment
Sell What Your Hands Create
The complete companion for turning your handmade crafts into real income at markets and online. What to make, what to charge, and where to sell it.
Get the Kit