
This post may contain affiliate links, including those from Amazon Associates. If you make a purchase through these links, I may earn a commission at no additional cost to you. Learn more about our affiliate policy.
Somewhere between the first cold morning and the last amber afternoon, the table starts asking to be dressed for fall.
Autumn arrangemnts wants moss and branches, candle flame and shadow, not plastic garlands from a seasonal aisle.
This guide walks you through styling a witchy fall centerpiece entirely from foraged finds. Use it for your fall equinox craft night, Samhain dinner gathering, or for natural decor to carry you through the colder months.
They would also be lovely as fall wedding centerpieces for your guests’ tables.
One slow walk outside, one unhurried hour at the table, and the season moves in.
In This Post, You’ll Find
- A foraged gathering list for your next walk
- Gentle foraging wisdom before you begin
- A grounding base layer of moss and wood
- Branch bones that give the arrangement height
- Autumn treasures to layer in slowly
- Candlelight and shadow for instant mood
- Light finishing details for more magic
- Style variations for every kind of table
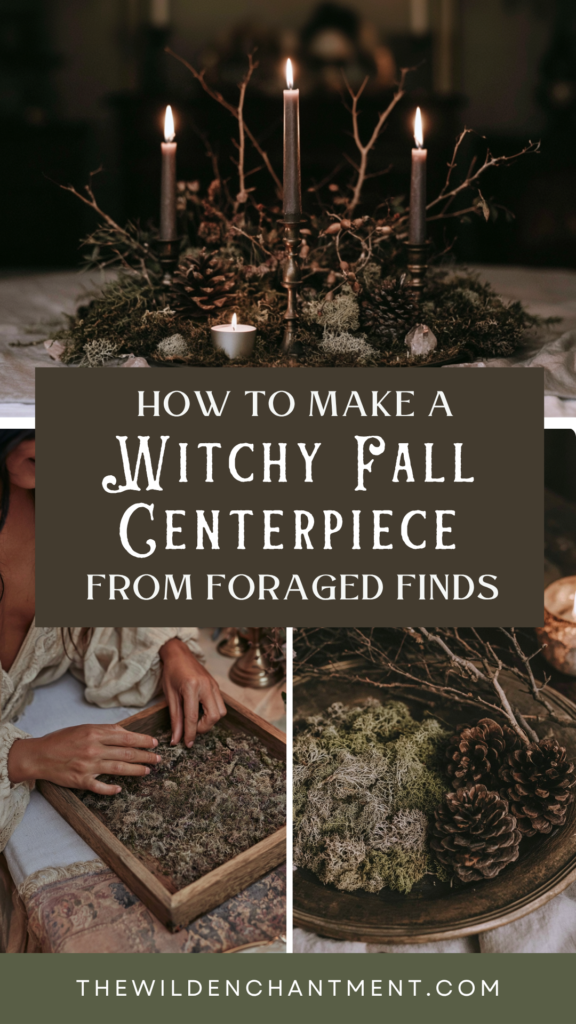
Why Foraged Fall Centerpieces Feel So Magical
The best fall centerpiece ideas rarely come from a store. A centerpiece built from foraged finds holds the actual season inside it, the rain the moss drank, the wind that loosened the acorns.
Styling one is also a ritual in itself. Gathering, arranging, and lighting the first candle becomes a small ceremony of welcome for the darker months.
There is the pride of it too. When someone leans toward the table and asks where the centerpiece came from, the answer is a story about an exploratory walk, not a store.
What You’ll Need
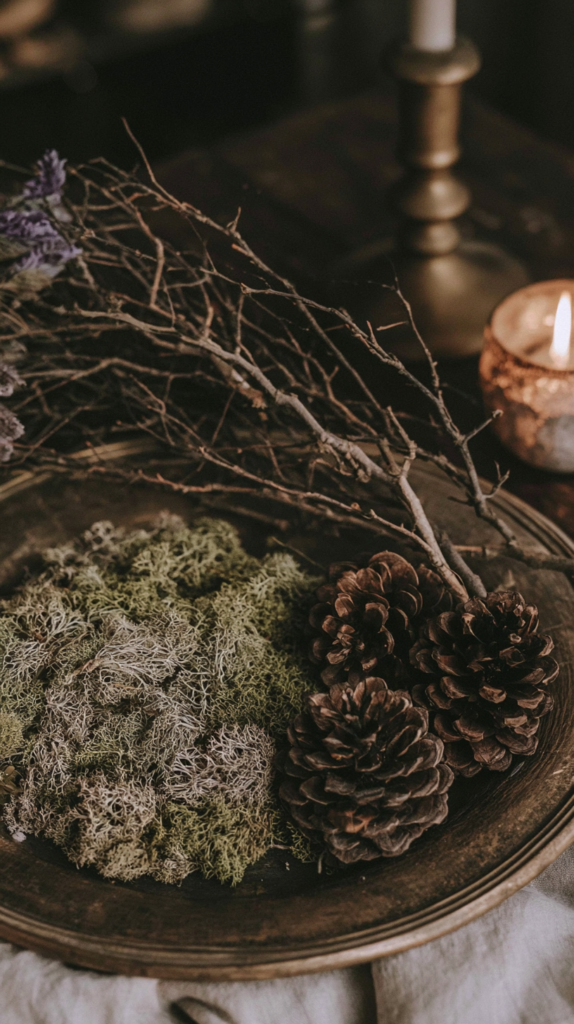
Most items here can be gathered on a single walk or pulled from around your home. Take a basket and let the forest decide your palette.
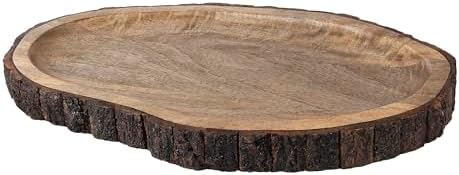
- A base such as a wooden tray, a length of linen, or a large rustic wood slice
- Sheet moss or gathered moss, shaken gently free of soil
- Bare branches with interesting curves, oak, birch, or whatever the wind offers
- Autumn treasures like pinecones, acorns, rosehips, seed heads, and dried leaves
- Candles in brass, iron, or dark ceramic holders
- Floral arranging foam, optional if you are wanting to make branches or dried flowers stand
- Optional magic such as feathers, small crystals, tiny corked bottles, or a black-painted pumpkin
How to Forage Like a Witch
Foraging for decor is less about collecting and more about noticing. Walk slowly, take only what has already fallen and speaks to you, and leave every patch looking as though you were never there.
Give your finds a night to dry somewhere airy before they come to the table. Pinecones can be warmed in a low oven for half an hour to send any small residents on their way.
If you gather from parks or shared land, check what is permitted first. The forest gives most generously to those who ask politely.
Keep a small cloth bag in your coat pocket through October. Some of the best finds arrive on the most ordinary errands.
Step One, Lay a Grounding Base
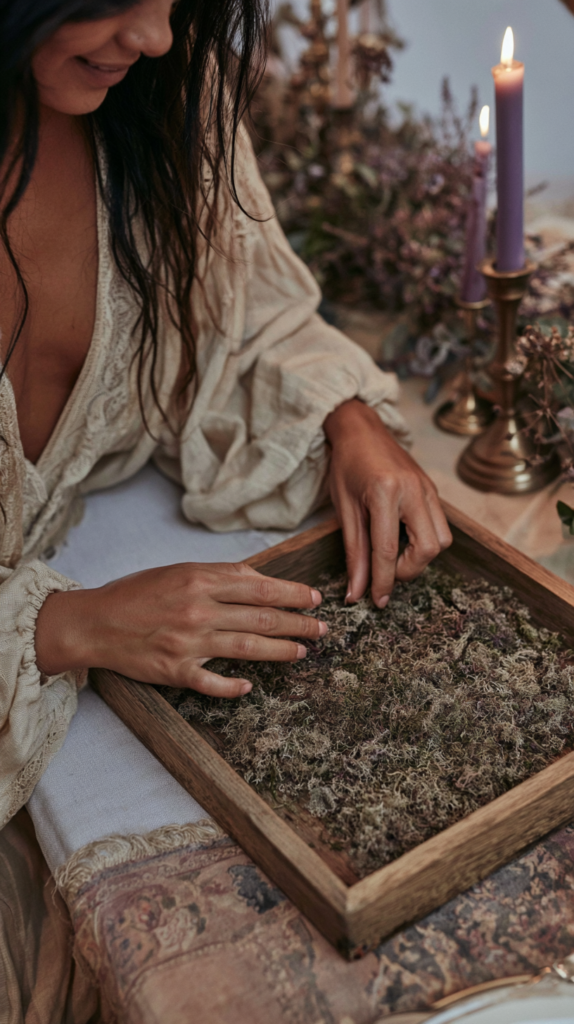
Every enchanted arrangement starts with an anchor. A wooden tray or wide wood slice defines the centerpiece’s territory and keeps wax and moss off your table.
Drape linen or cheesecloth beneath it if you want softness. Then blanket the surface in moss until it looks as though the forest floor crept in overnight.
No tray on hand? A shallow baking dish lined with linen disappears completely under moss, and the goal is simply a defined island where the eye can rest.
Optional step: Add some floral arranging foam under the moss if you want to arrange branches as standing rather than laying them down.
Step Two, Build the Bones With Branches
Branches give the arrangement its wild silhouette. Choose two or three with beautiful curves and either frame the tray with them or set them rising from the back. Think ahead about where you will place your candles with this method, as you don’t want to light the branches on fire!
Odd numbers and uneven heights keep everything feeling gathered rather than arranged. Anchor stubborn stems in florist putty or a small hidden jar.
Lichen-crusted branches are pure treasure, so keep them whole. One branch that forks like antlers can make the entire table feel like a clearing.
Step Three, Layer In Autumn’s Treasures
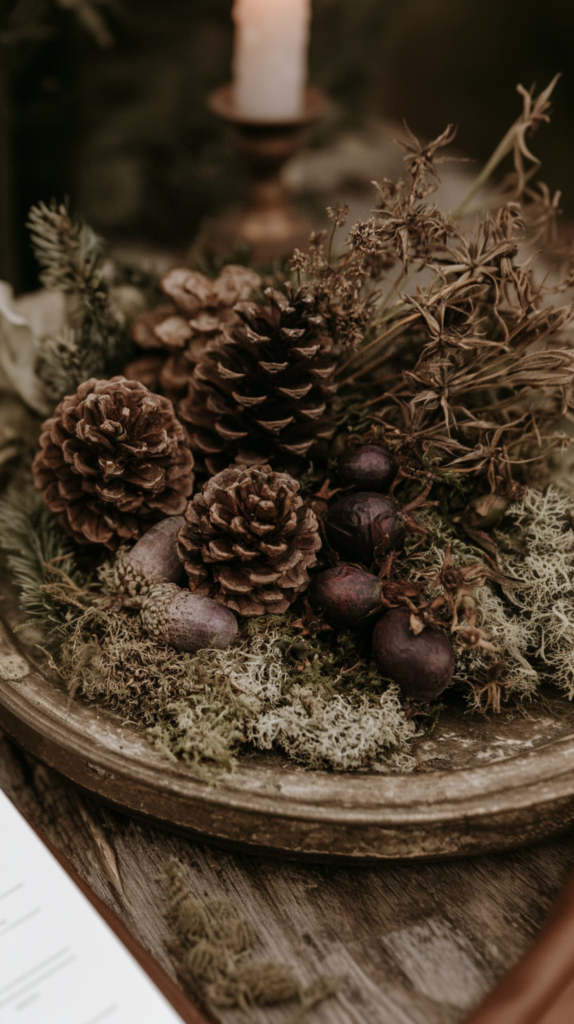
Cluster pinecones and acorns in threes, tuck rosehips wherever you want a pulse of dark red, and let a few dried leaves or seed pods rest exactly where they fall.
If you have learned how to dry flowers and herbs for decor, this is their moment. A few seed heads or yarrow stems add that slightly untamed apothecary feeling.
Vary the textures deliberately, something glossy beside something papery, something dark beside something pale. That gentle tension is what makes a foraged arrangement feel styled rather than scattered.
Step Four, Finish With Details
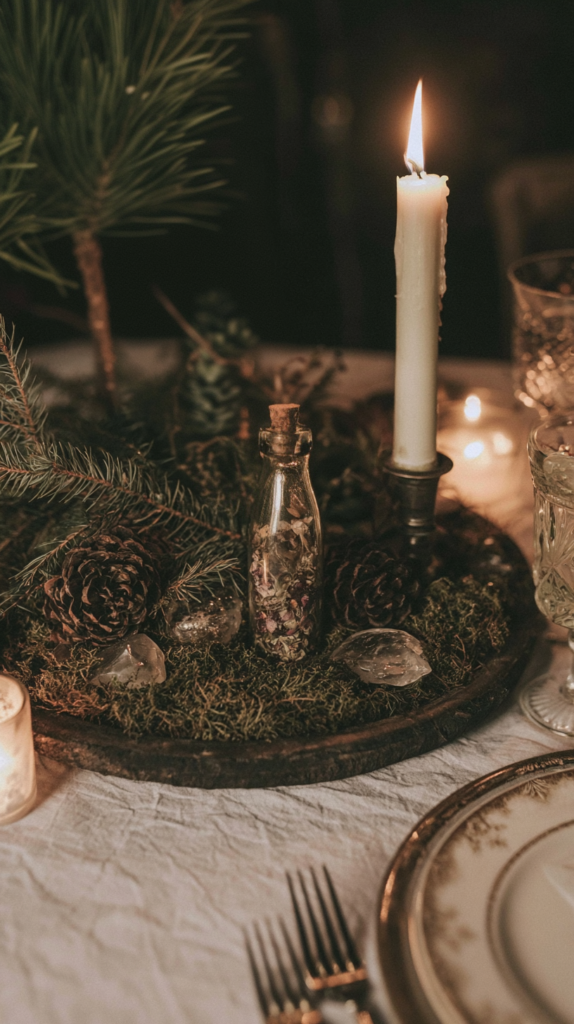
The next layer is where the witchy lives. A feather found on the path, a cluster of sparkling crystals, a corked bottle of gathered petals, each one reads like a secret only you know.

New from Wild Enchantment
Wheel Of The Year Gathering
8 nature crafts & seasonal rituals for each turning of the year, using what the season is already giving you.
Add a painted mini pumpkin if you love a nod to the spookier weeks. Consult this mini pumpkin painting ideas guide for more techniques.
Step Five, Add Candlelight and Shadow
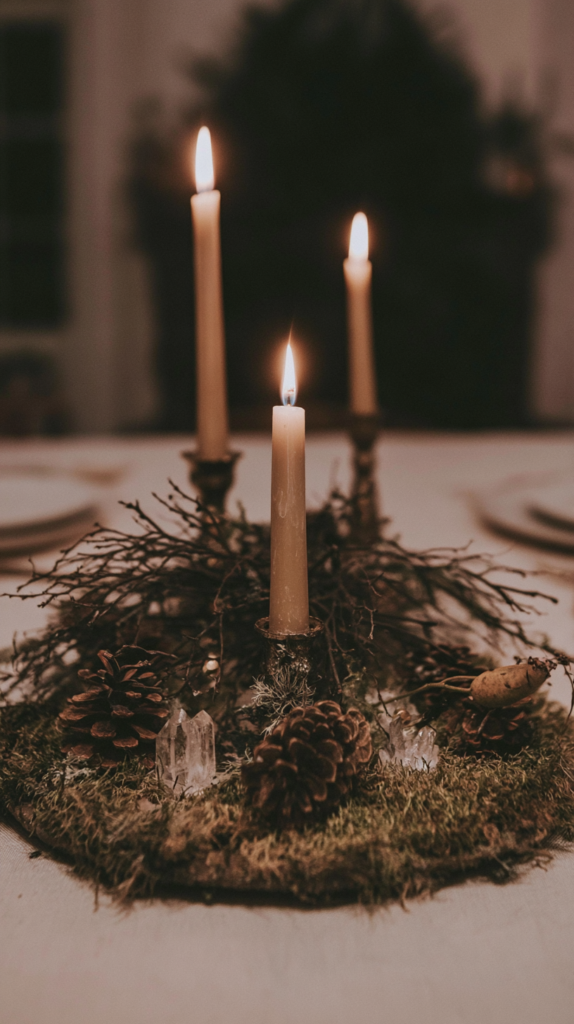
Candles are what turn decor into atmosphere. Nestle one or three into the arrangement with a glass holder or candlestick, keeping every flame well clear of branches and dried material.
Dark holders deepen the mood while brass catches the glow. Beeswax brings a honeyed scent that suits the season, and amber LED candles glow convincingly among the moss if open flame worries you.
While you work, set one of our DIY fall simmer pot recipes murmuring on the stove. The whole room joins the ritual.
Bringing It All Together
When you are ready to assemble, the order matters more than perfection. Work in layers and let the arrangement tell you when it is done.
- Lay the base and moss first, softening every hard edge.
- Set the branches and adjust until the silhouette pleases you from your usual chair.
- Cluster the heavier treasures first, then scatter the small ones like an afterthought.
- Place the candles and check their clearances once more.
- Add the whispered details last, then step back and remove one thing. Restraint is its own kind of magic.
Style Tips and Variations
- For a harvest supper, stretch the arrangement into a long runner down the table and double the candles.
- For a fall wedding, have your best friends and family join in the arrangements for your guest tables.
- For Samhain, deepen the palette with black candles and more shadow, letting it echo your rustic fall altar across the room.
- For small tables, shrink everything onto a single wood slice with one candle and three treasures.
- For thrifted charm, mix in tarnished candlesticks and other witchy finds from the thrift store so the foraged pieces feel collected over years.
- For everyday enchantment, keep a smaller version going on a windowsill or shelf, so the magic is not saved only for dinners.
A Table That Holds the Season
A witchy fall centerpiece made from foraged finds is never really finished. Swap treasures as the weeks turn, let leaves crumble and be replaced, and the arrangement stays quietly alive.
When the season ends, most of it returns to the earth it came from. That may be the most magical fall centerpiece idea of all, decor that was only ever borrowed.